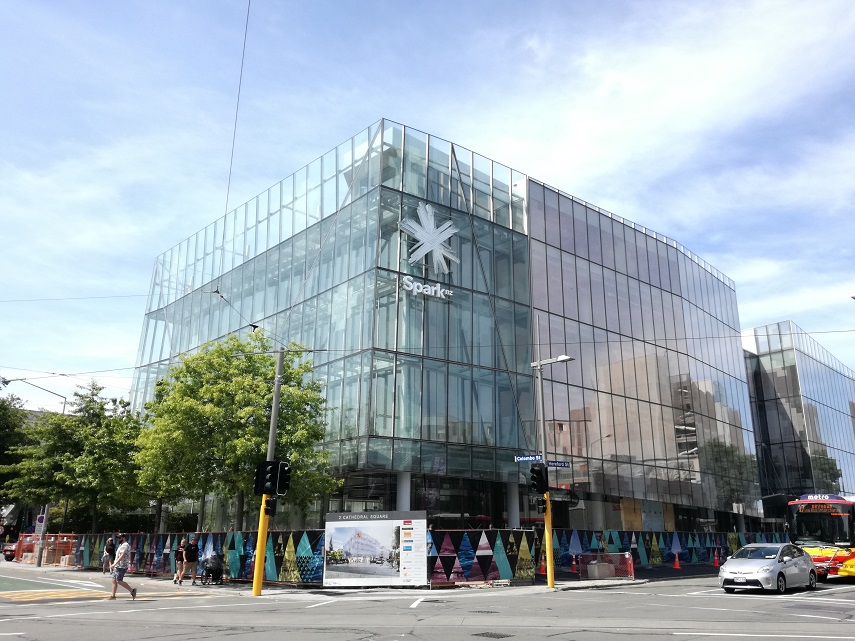
The building code defines hoardings as structures alongside a public way providing side protection but no overhead protection. They are required to secure worksites and provide for the adjacent safe passage of pedestrians.
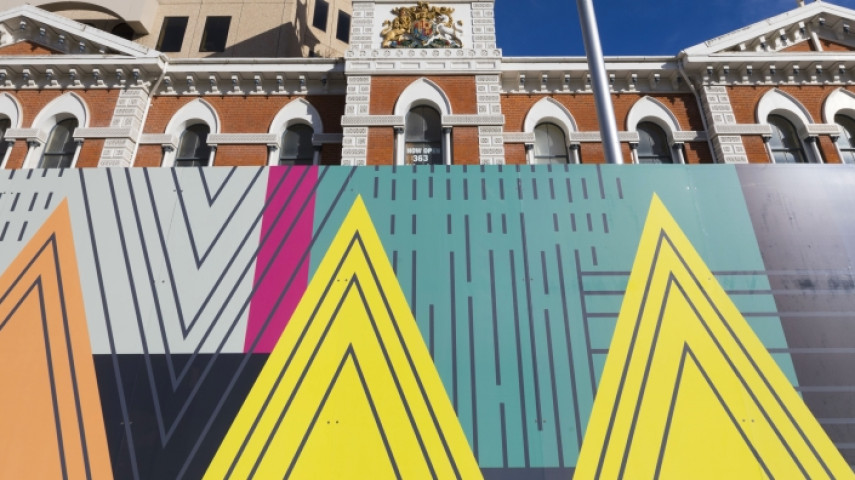
Get creative
Creative hoardings reinterpret construction hoardings by improving their look and feel so our city doesn't become visually dominated by fences and hoardings as we build.
Normal hoardings can be transformed into creative hoardings at any time. You can use one of our pre-designed hoardings or work with a design partner to create a custom hoarding.
If your hoarding needs to occupy public roads or footpath, you will need to apply for temporary use of the legal road.
We've got a series of creative hoarding designs available free of charge to enhance your hoardings.
Each design consists of individual artwork panels. These panels can be assembled in any combination but must be from the same design suite.
Touch base with us before you begin for advice on how to integrate the creative hoarding artwork into the overall hoarding. Contact creativehoardings@ccc.govt.nz.
Kaupeka Tae

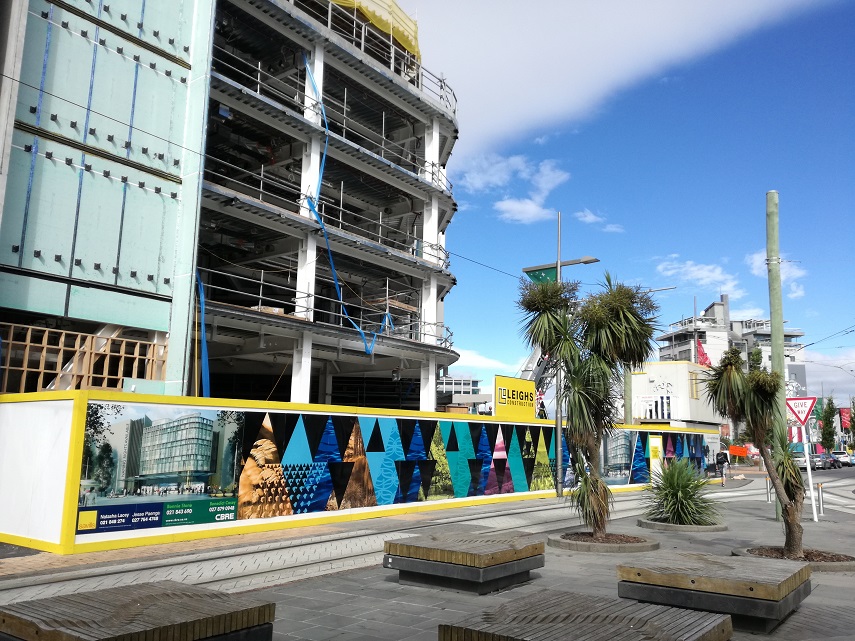
Kaupeka has many meanings like to branch out, section or part and it is also a term that means season or the lunar month that Māori followed. Tae can mean to reach out, extend to arrive or colour. Both depend on the context. Giving this hoarding design a wide scope for interpretation.
Each section of the pattern can relate to sections within your building or business. The Māori patterns are derived from the traditional art practices of whakairo (carving), kōwhaiwhai (painted scroll ornamentation – commonly used on meeting house rafters) and raranga (weaving).
Some of the kōwhaiwhai used are mangopare (the hammerhead shark) known for its tenacity and resilience, Koru representing a new beginning and growth, and pūhoro representing speed and whakapapa (genealogy).
Whakairo patterns that have been stylized come from Maui – so named because it depicts a fish hook like the one Maui used to fish up the North Island. Maui was resourceful, tenacious and adventurous, Rauponga taken from the fern leaf, and Rauru a spiral pattern for potential.
Weaving patterns include the Poutama symbolic of attainment, learning and growth, Niho taniwha which represents chieftainship, strength and history, Aramoana the wave pattern symbolizing communication and lastly Pātiki the flounder pattern a symbol of hospitality and caring for people.
These hoarding designs are an acknowledgement of the creativity of mana whenua and their connection to the environment. The colours of the images reflect the ebbs and flows of the seasons of the city, as well as the many textures that can be found around the city as it evolves with the post-earthquake rebuild.
Design partner: Ariki Creative(external link)
Download the Kaupeka Tae design files:
- Kaupeka Tae examples [PDF, 1.1 MB]
- Kaupeka Tae hoarding 1A [EPS, 165MB](external link)
- Kaupeka Tae hoarding 1B [EPS, 76MB](external link)<
- Kaupeka Tae hoarding 2A [EPS, 31MB](external link)
- Kaupeka Tae hoarding 2B [EPS, 37MB](external link)
- Kaupeka Tae hoarding 2C [EPS, 42MB](external link)
- Kaupeka Tae hoarding 2D [EPS, 76MB](external link)
- Kaupeka Tae hoarding 3A [EPS, 27MB](external link)
- Kaupeka Tae hoarding 3B [EPS, 55MB](external link)
- Kaupeka Tae hoarding 4A [EPS, 14MB](external link)
- Kaupeka Tae hoarding 4B [EPS, 20MB](external link)
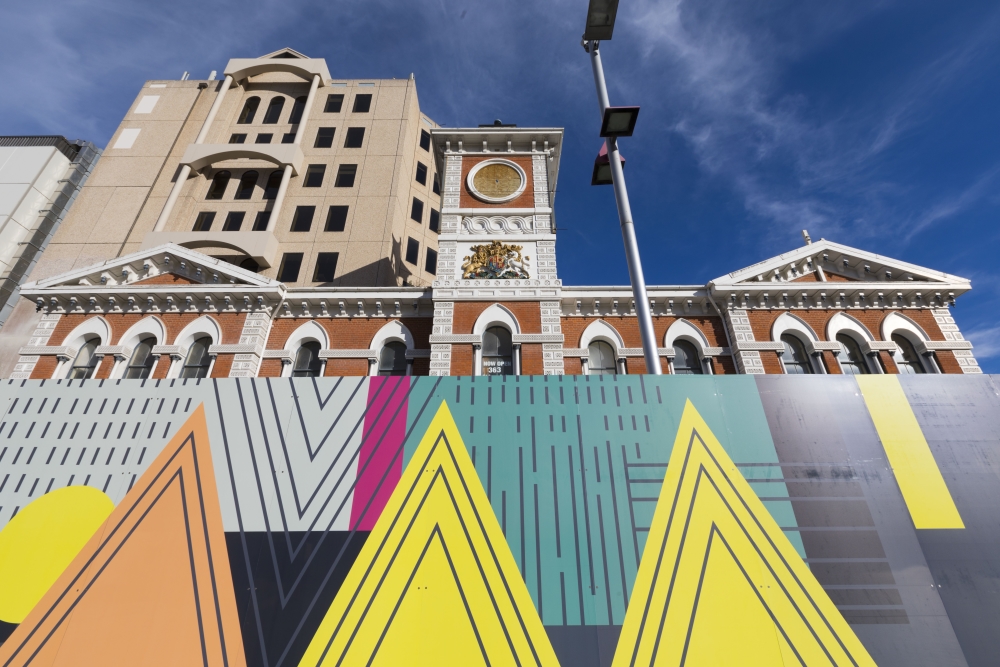
Aromarea

This panel is a representation of Te Taiao (the natural world) the land, sea and sky. For Māori this can be interpreted through Papatuanuku (the Earth Mother), Tangaroa (God of the sea) and Ranginui (the Sky father).
The triangle shapes also reference the traditional tāniko patterns of aronui and niho taniwha. Aronui meaning the pursuit of knowledge in the natural world and niho taniwha which can mean chieftainship, strength and history. Another interpretation of this whole pattern is a reference to the Southern Alps known to local Māori as Ka tiritiri o moana (the white caps of the waves).
Some of the triangles have kōwhaiwhai (painted scroll ornamentation – commonly used on meeting house rafters) in them. These are traditional Māori interpretations of the natural world and of plants, birds, fish and water.
Part of the smaller niho taniwha design morphs into a pātiki (flounder) a specialty of the area and an inference to manaakitanga (hospitality) and caring for the people.
These hoarding designs are an acknowledgement of the creativity of mana whenua and their connection to the environment. The colours of the images reflect the ebbs and flows of the seasons of the city, as well as the many textures that can be found around the city as it evolves with the post-earthquake rebuild.
Design partner: Ariki Creative(external link)
Download the Aromarea design files:
- Ariki Hoarding combinations [PDF, 1.1MB](external link)
- Aromarea Placeholder [EPS, 22.5MB](external link)
- Aromarea 1A [EPS, 43MB](external link)
- Aromarea 1B [EPS, 202MB](external link)
- Aromarea 2A [EPS, 202MB](external link)
- Aromarea 2B [EPS, 250MB](external link)
- Aromarea 3A [EPS, 26MB](external link)
- Aromarea 3B [EPS, 118MB](external link)
- Aromarea 10 [EPS, 76MB](external link)
Live Central

Christchurch’s Central City neighbourhoods are walkable, social and vibrant. Discover what makes the Latimer(external link), South (external link)and South East (external link)neighbourhoods great places to live, play, connect and discover. The neighbourhood includes a mix of housing, parks, Margaret Mahy Playground and the soon-to-be-constructed Te Kaha arena.
The Living Central designs reflect the identity of these neighbourhoods. These designs are available for use on Central City residential and commercial construction sites.
Download the Living Central design files:
Christchurch Life

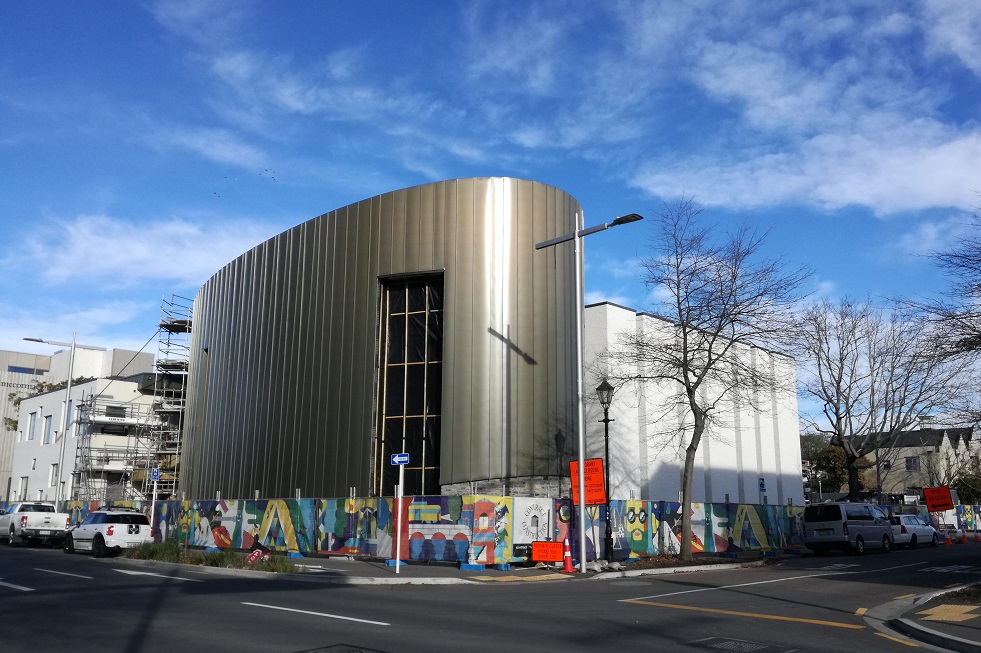
There is enough discovery and surprise for everyone to see something a little different each time. Look close! Christchurch Life and Urban Camouflage have surprises and hidden meanings all about Christchurch that you’re sure to discover the more you look.
Download the Christchurch Life design files:
Urban Camouflage
Urban Camouflage has three colour options to choose from.
A
B
C
Design partner: McCarthy
Download the Urban Camouflage design files:
- Urban Camouflage examples [PDF, 562 KB]
- Urban Camouflage hoarding A [EPS, 6.2MB](external link)
- Urban Camouflage hoarding B [EPS, 6.2MB](external link)
- Urban Camouflage hoarding C [EPS, 6.2MB](external link)
Artwork licence
If you are using a pre-design hoarding, the artwork is the intellectual property of Christchurch City Council. It is included in the Creative Hoardings toolkit under a licence agreement with Ariki Creative and McCarthy creative agencies.
The artwork may only be used for the purpose it is provided for – to be printed and attached to an approved construction hoarding. Any other unauthorised use of the artwork is an infringement of copyright.
If you would like to use the artwork for another purpose, please contact Christchurch City Council: creativehoardings@ccc.govt.nz
Create your own custom hoarding to showcase your project and construction partners, while also engaging the public in your project and its role in the city’s future.
If you're working with a design partner to create your own hoarding, you could consider the following design principles.
Creative, playful and engaging
This is an opportunity to set the tone of the project, reflect values central to the build and integrate branding at an appropriate scale. Integrating corporate logos and branding into the artwork can give a more effective result than excessively large or frequent logo placement.
Visually define the site
A hoarding should clearly define where a project begins and ends. Use visual devices such as patterns, contrasting skirting or trim. Signal the scale of the project and ensure a mid-block site stands out. Projects creating laneways, driveways or the main entranceway can hint at future flows of people and traffic between the project and the street.
Include large-scale images
Use large-scale project-related images that showcase the project and soften hoarding impact. If possible, include people in the image at an appropriate scale so people can visualise their future relationship with the project.
Showcase your team
Designating an area for collating corporate logos shows a team approach. It is critical to avoid the negative impacts of clutter or excessively large signage. Successfully integrate your branding by neatly clustering images and logos of similar scale at hoardings ends or other points of activity (i.e. gates requiring safety info, locations for public interaction). If you work with an artist or designer, it is recommended you identify and acknowledge them.
Provide public viewing
People are naturally curious. If appropriate let the public observe your construction progress with viewing windows. Choose safe locations where viewers are protected from traffic and from potential solid debris in accordance with Building Code clause F5.
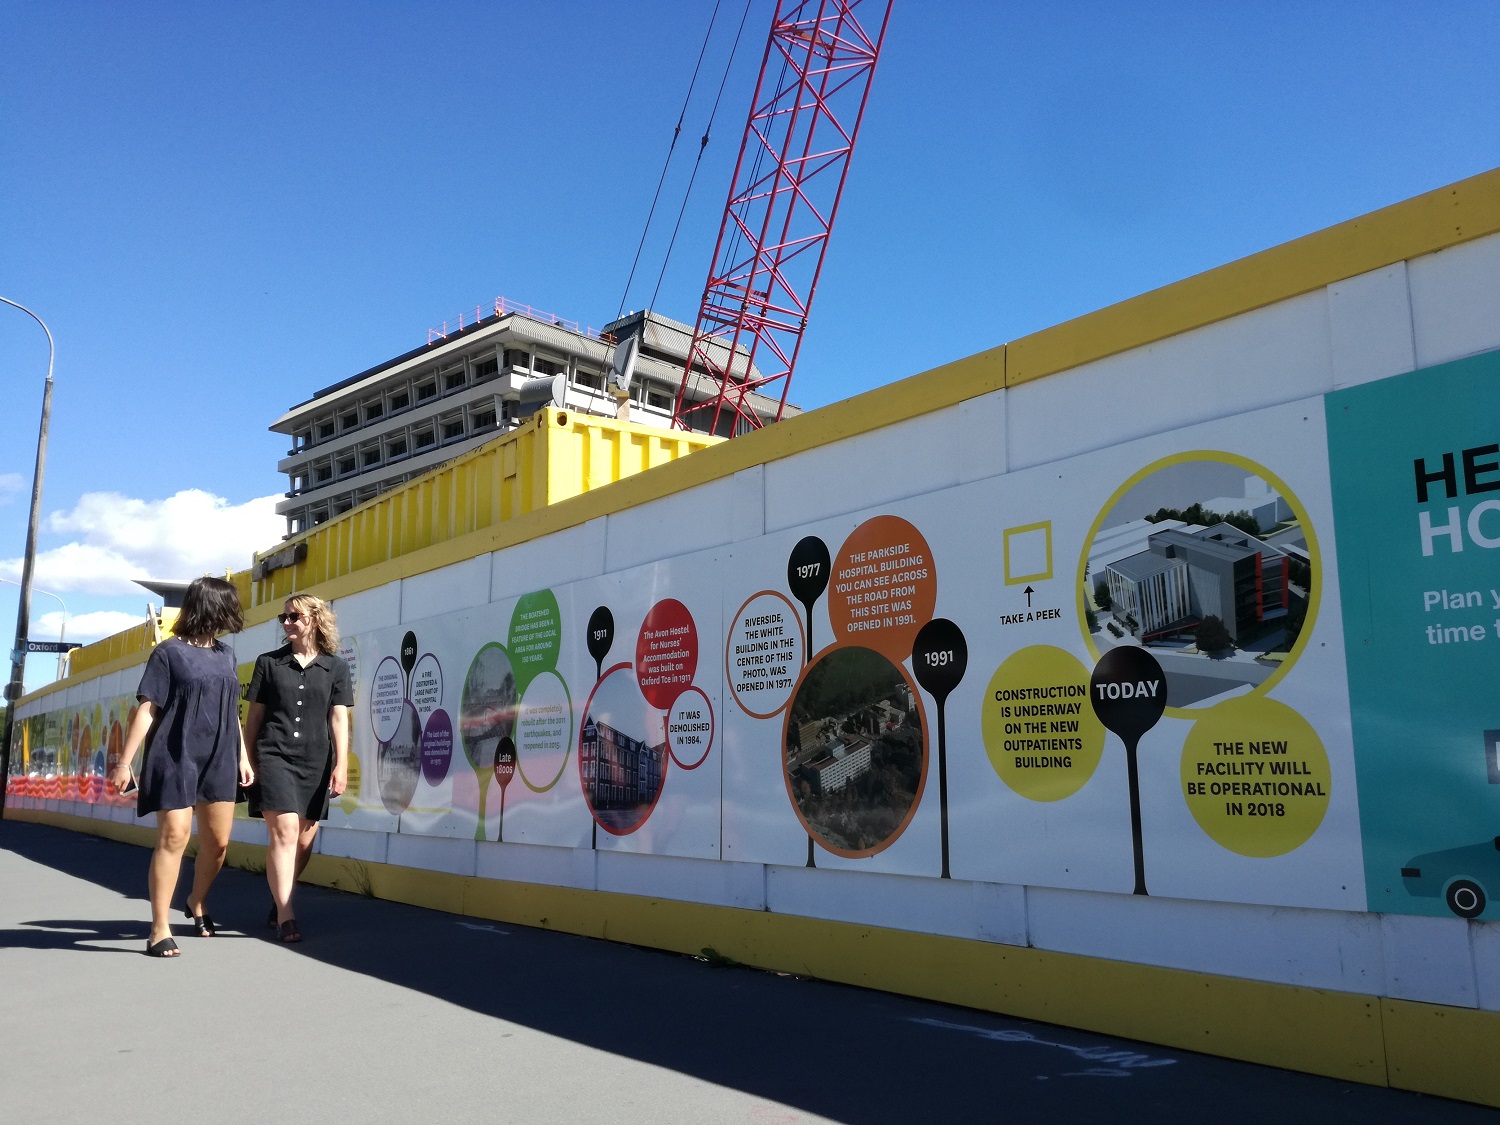
Consider the history, present, and future of the site
Build engagement with the project by making links to the past with images or information. Talk about the present by drawing attention to progress or connecting to the future through details about the project, including large-scale images.
Include wayfinding
Wayfinding consists of tools that help people navigate. Show street names close to intersection corners. Use font size visible from across the intersection. Maps can be creative, playful, or integrated into the artwork.
Get connected to an artist
Connect with an artist:
- Email artsadviser@ccc.govt.nz
- (external link)Download artist considerations for custom hoardings [DOCX, 14 KB].
Advice on installing creative hoarding to ensure they meet appearance, maintenance and installation standards.
Installation guide
- Consider viewing where appropriate
- Include health and safety and hazards near entrances
- Provide wayfinding where appropriate
- Cluster corporate info and logos at hoardings ends
- Consider installing artwork on gates more than 8m wide
- The top board and kickboard can be flat black or a complementary colour
- Artwork can be installed in the interior of a pedestrian gantry
- For best effect, print to the full height of the panel, excluding kickboards
- Artwork could be optional on gates less than 8m
- Artwork can be considered on containers where they form part of the hoarding line
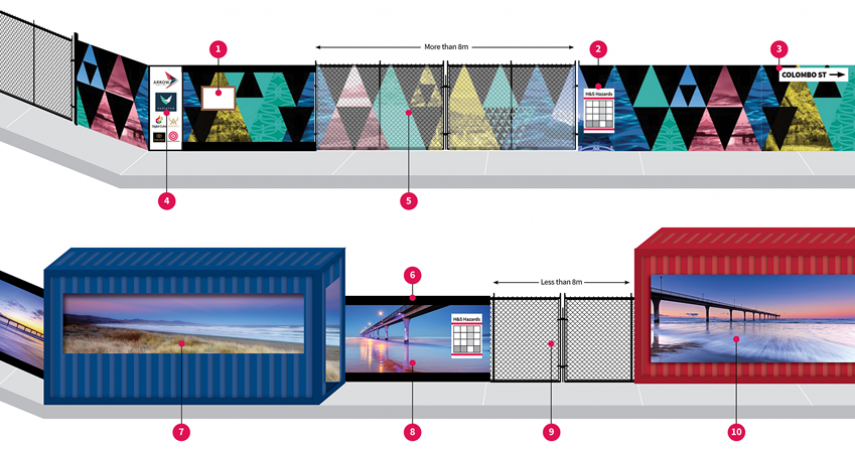
Download the guidelines [PDF, 941 KB]
Printing and installation
The installation of artwork design to construction hoardings must consider long-term durability, appearance and maintenance requirements.
Hoarding artwork can be printed on recycled or recyclable materials.
Recommended:
- PVC banner fabric
- ACM board
- vinyl wrap or similar
- UV-stabilised ink.
Not recommended:
- Corflute, due to its durability and longevity being low.
Graffiti
All reasonable efforts should be taken to remove graffiti from hoarding artwork within 48 hours.
Should it be impossible to remove graffiti through low-cost, manual efforts, you may be required to reprint and replace the affected artwork.
If the graffiti is offensive, the Council may paint over it within 4 hours.
Custom hoardings


